Disney adult, mom of 6, vlogger for The Lee Crew. Find tips, tricks & inspiration for your Disney vacation no matter the size of your family or age of your kids.
hEY, I'M NEYSSA!
Disney World Lightning Lane: A Simple Guide for Families
If you’re feeling overwhelmed by Disney Lightning Lane, you’re not alone. With all the acronyms, booking windows, and ride tiers, it can feel like you’re planning a military operation instead of a magical vacation. But don’t worry, mama—we’ve been there, and we’re here to break it down in a way that actually makes sense (and keeps your sanity intact).
Quick note: This guide is all about Disney Lightning Lane at Walt Disney World in Florida. Disneyland in California has a different system, so be sure you’re looking at the right info!
(If you love learning by video instead, I’ve turned this topic into a YouTube video for you. )
What Is Disney Lightning Lane?
Disney Lightning Lane is Disney’s paid way to skip the standby line on many rides. Think of it as a fast-pass to the front of the line (without the old FastPass name). Disney Lightning Lane Multipass lets you reserve return windows for attractions throughout the day.
You can have up to 3 Lightning Lanes booked at a time. Remember this for later in the park day. That anytime you use ANY of your Disney Lightning Lanes (Multipass) you can book another multipass ride.
How and when you book them depends on a few key things—like whether you’re staying at a Disney resort and which rides you’re targeting. We will get to strategy in a few moments, so keep on reading!
There are two types of Lightning Lane access:
Disney Lightning Lane Multipass vs. Single Pass
This is where things get tricky. Most rides are included in Multipass (what we just called “Lightning Lane”). But a few super-popular rides are not included in Multipass. These are called Single Pass attractions, and you must pay separately to book them—whether or not you bought Lightning Lane Multipass for the day.
Here’s a quick cheat sheet:
Lightning Lane Multipass: Includes multiple rides across all four parks.
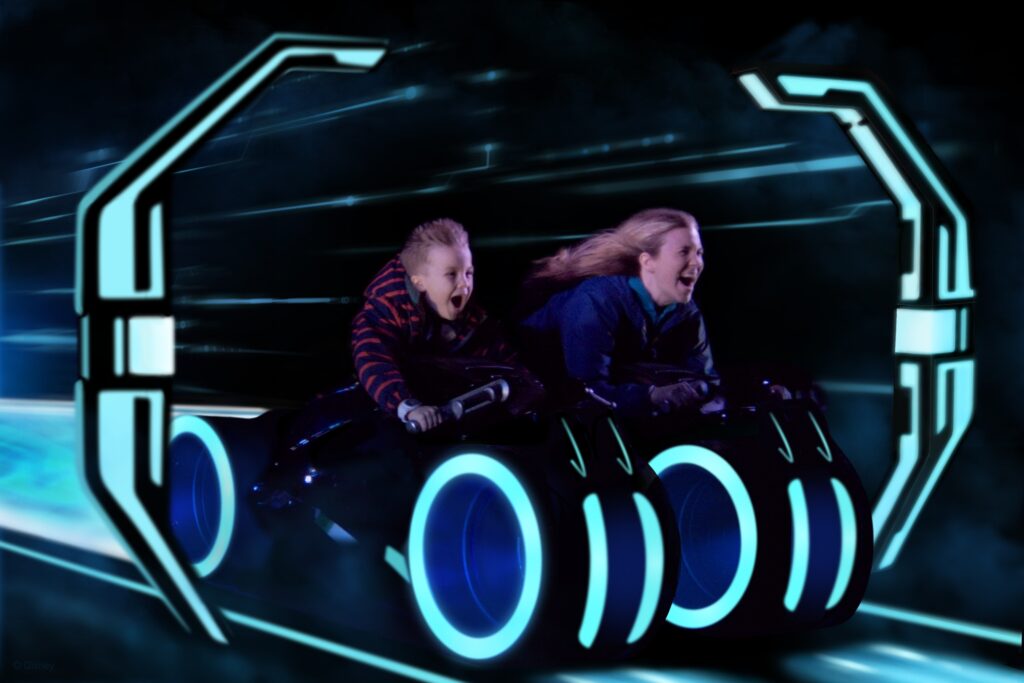
Lightning Lane Single Pass: High-demand rides like Seven Dwarfs Mine Train or Guardians of the Galaxy. Booked and paid for separately.
Resort Guests vs. Offsite Guests
Staying at a Disney resort? You’ve got an edge! Resort guests can start booking Lightning Lanes 7 days prior to your check-in date. At 7 days out, you can book your Lightning Lanes for up to 14 days of your trip. This is huge!
Non-resort guests have to wait until 3 days prior to their reservation, which means some of the top rides might already be gone. (Don’t fret as things can open up, but there is a definite perk to staying on Disney property).
Tier 1 vs. Tier 2 Rides
First, tiers only apply to rides when you’re initially booking Disney Lightning Lane.
Some parks, like Magic Kingdom, EPCOT, and Hollywood Studios, group rides into tiers. The most popular rides will fall into tier 1, while the rest of the rides will be in tier 2.
When booking, you can book ONE tier 1 ride and TWO tier 2 rides – equalling your THREE allowed Lightning Lanes.
For example, at Magic Kingdom, you can book Peter Pans’ Flight (tier 1), Haunted Mansion (tier 2), and Winnie the Pooh (tier 2).
As soon as you tap into ANY of your lightning lanes in the park, all tiers go away. At that time, you’re able to book any ride (including rides in another park). Even more, you can modify you your already booked Lightning Lanes to another ride.
Example: Hollywood Studios
Tier 1: Slinky Dog Dash, Mickey & Minnie’s Runaway Railway
Tier 2: Star Tours, Toy Story Mania, MuppetVision 3D
Knowing this helps you strategize which rides to go after early.
Prioritizing Rides: Some Run Out Fast (and It’s Not Always Obvious!)
This is so important. Some rides you might not expect—like Jungle Cruise at Magic Kingdom—can run out of Lightning Lane return times early in the day. Others, like Peter Pan’s Flight or Remy’s Ratatouille Adventure, are also high in demand.
Want help figuring this all out? I’ve created a planning sheet that lays out the top-priority rides by park and helps you organize your bookings like a pro.
What Is the Magic Key Ride?
This is just our fun name for the one Lightning Lane you want to book as early as possible. It’s usually a ride that you likely won’t need a Lightning Lane for, but is important for helping you get rid of those tiers as quickly as possible. Think of it as the “key” that unlocks your whole day.
For us, at Magic Kingdom, that’s almost always Mad Hatter’s Tea Party or Aladdin’s Magic Carpets.
Lightning Lane Return Windows (and Grace Period)
When you book a Lightning Lane, you’ll get a one-hour return window—say, 10:00 to 11:00 AM. You can tap in 5 minutes early or 15 minutes late, so there is some grace if your toddler needs a bathroom break or someone spills a Mickey bar.
Once you use a Lightning Lane, you can book another one.
You can also modify a booking if you need to change the time or ride, which gives you a little more flexibility.
Booking Strategy: Start With a Plan
You don’t need to plan every second of your day, but having a Lightning Lane game plan is a game-changer. Start by:
Selecting a Tier 1 Ride
Deciding on your Magic Key Ride (a Tier 2 option)
Selecting another Tier 2 ride
Deciding if you’ll purchase Single Pass for that day
As things move quickly, having a plan will help you! That’s where my Lightning Lane Multipass Planner can help you book with confidence.
Once You’re in the Park
Once you’re in the park and have used your first Lightning Lane, it becomes a bit of a game—book one, use one, repeat! Check your app often, refresh to see what pops up, and try to keep a rolling list of upcoming rides.
Remembering that rides can run out of times will help you avoid missing favorites. If a ride’s return times are getting later and later, it’s a sign that it will run out soon. Otherwise, go with what you want to ride!
And remember: it’s okay to not ride everything. Focus on the top priorities and enjoy the little moments in between.
Final Tips for Families
Set alarms for 6:45 AM on your booking day so you’re ready to book right at 7am EST
Use your planning sheet to rank rides by priority.
Don’t forget about the grace period—breathe if you’re running late.
Always have 3 rides booked.
Be flexible—times pop back up during the day!
And above all—don’t let the system steal your joy. You’ve got this!
Ready to Tackle Disney Lightning Lane Like a Pro?
Grab our Lightning Lane Planning Guideto get started. It’s designed for real families (yes, even big ones!) and helps take the stress out of your morning bookings.